
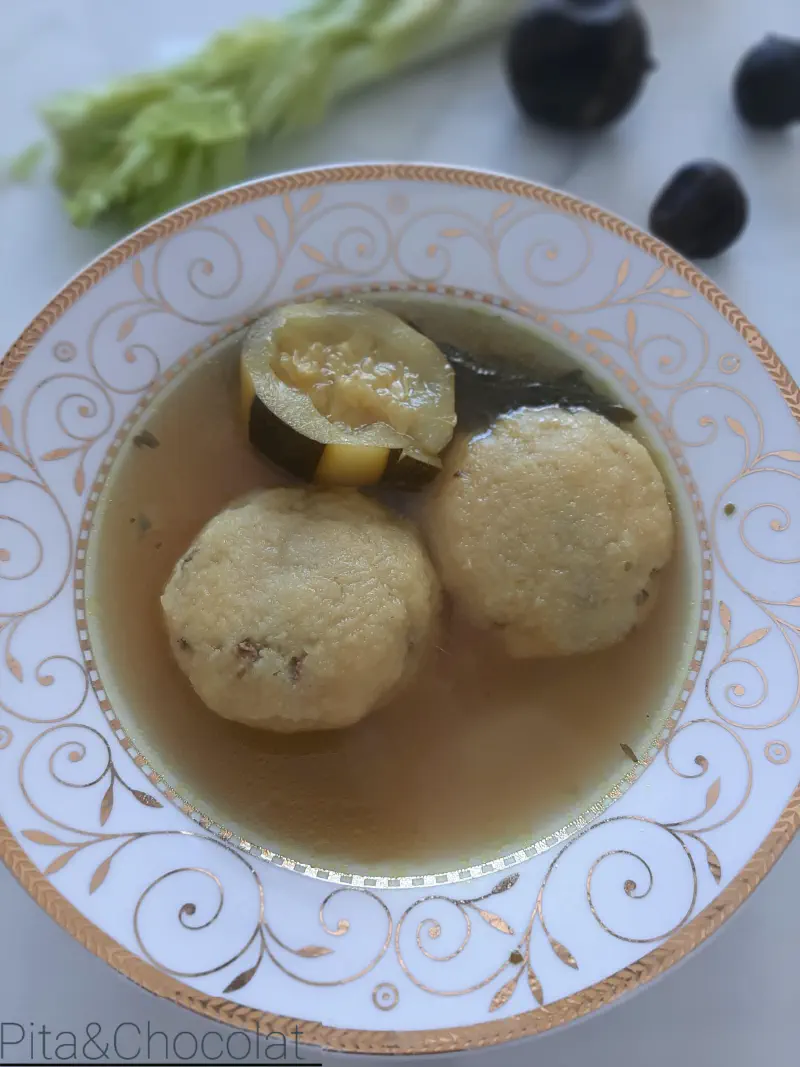
Ingredients
Check off ingredients as you go
Makes 15-20 kubbeh
For the kubbeh shell
- 100 g (½ cup) fine bulgur (גרישה)
- 500 g (3 cups) fine semolina
- 1 tsp fine salt
For the kubbeh filling
- 300-400 g (10-14 oz) ground beef (minced beef) (chuck, shank, neck or brisket)
- 5 cloves garlic, minced
- 2 onions, finely diced
- 1/2 bunch flat-leaf parsley, finely chopped (or celery leaves)
- Salt, pepper
- 3-4 Tbsp neutral oil
For the broth
- 1 liter (4 cups) beef stock (or water + an organic bouillon cube)
- 1 large onion, thinly sliced
- 3-4 Tbsp neutral oil
- 5 cloves garlic, thinly sliced
- 4-5 stalks celery with the leaves, roughly chopped
- 2-3 zucchini (courgettes), cut into fairly thick rounds
- 6 Swiss chard or spinach leaves, roughly chopped
- 2-3 zucchini, cut into chunks
- 1 tsp turmeric
- 1 dried Persian lime (the pale ones are less sour than the black ones)
- Salt, pepper
- Juice of 1 lemon
Kubbeh (pronounced koo-beh) are semolina dumplings stuffed with meat and herbs. Hugely popular in Israel, they deserve to be better known! Guaranteed to impress your guests. The preparation is fairly simple, if a little long, but the taste is well worth the effort.
Making the kubbeh shell
Put the bulgur in a very fine sieve, rinse until the water runs clear, then transfer it to a bowl with a glass (200 ml) of water. Set aside for 30 minutes; the bulgur will absorb the water.
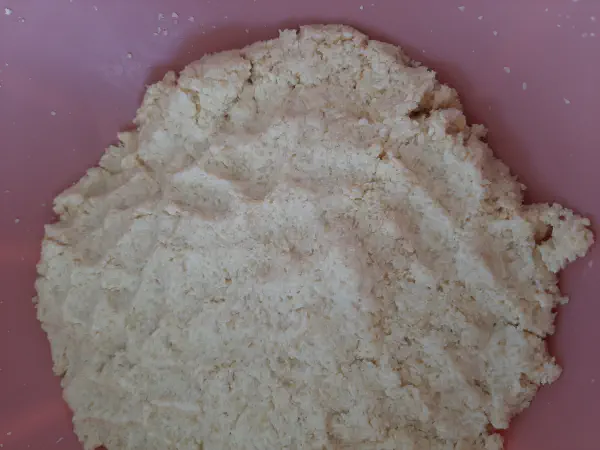
Add the fine semolina to the bulgur, salt lightly, then knead until the dough is fairly supple. If it’s too firm, add a little water. It should be easy to shape, but not too wet, or the kubbeh may open up during cooking.
Making the kubbeh filling
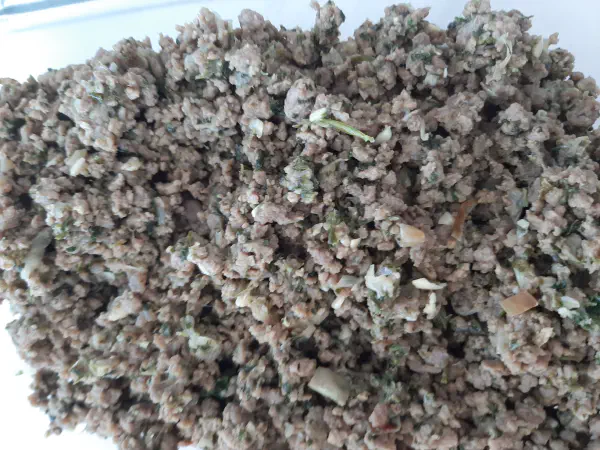
- In a saucepan, heat the neutral oil and the onions. Sear them over high heat until golden, then add the meat to brown it, followed by the garlic. Next add the parsley (or celery) and cook for another 7-8 minutes. Season with salt and pepper and cook until the mixture is fully cooked and slightly dry (no liquid left). Taste and adjust the seasoning if needed. Set aside and let cool.
Shaping the kubbeh
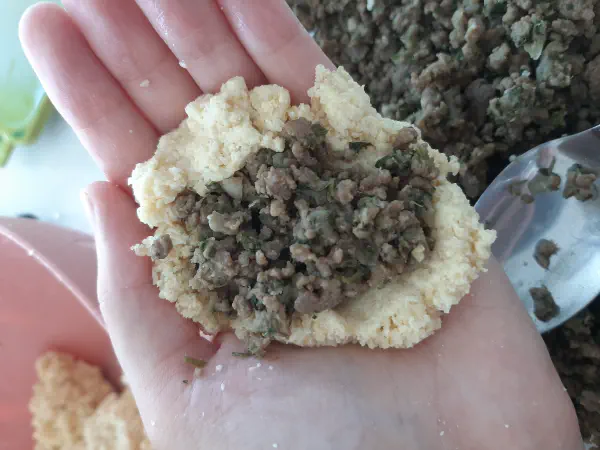
- With damp hands, take a large walnut-sized piece of the bulgur dough, flatten it in your palm and place a level Tbsp of meat filling in the middle, then close it up into a ball the size of a ping-pong ball, slightly flattened (like a puck). You can freeze them at this stage: lay them flat on a baking sheet, put it in the freezer, then transfer them to a freezer bag.
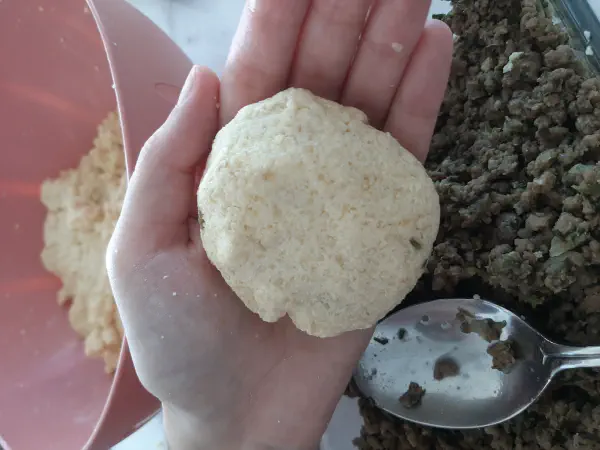
Making the sweet and sour broth and cooking the kubbeh
- In a Dutch oven, sauté the sliced onion, garlic and celery (and the chard leaves, if using) in 3 Tbsp oil until lightly colored. Add the turmeric, the dried Persian lime, the salt, the boiling stock, then the lemon juice. Gently add the kubbeh and let simmer for about 15 minutes.
Tips and planning
Uncooked kubbeh freeze well. To get ahead, instead of cooking them in the broth, put them in the fridge, then into freezer bags in the freezer. That way all you’ll have to do is make the broth and cook them.
Some people like the kubbeh “shell” firmer, others softer, so adjust the texture to your taste. Just make sure it’s thick enough not to open up during cooking.
You can also make the shell with half fine semolina (סולת) and half fine bulgur (גרישה).
If you freeze them, cook them straight from frozen in the broth, a little longer than usual.